How to Use BitNinja with ispmanager: A Step-by-Step Guide
This guide will walk you through how to find, install, and use the BitNinja module within the ispmanager interface. We’ll also cover some key tips to ensure smooth operation.
Steps to Install BitNinja
Installing the BitNinja module in ispmanager is quick and straightforward. Follow these steps:
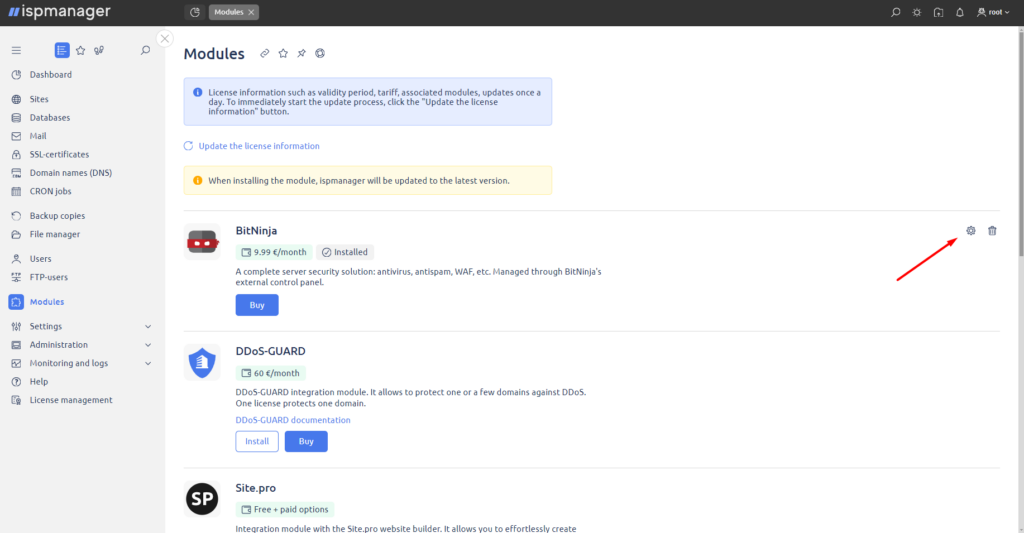
Go to the Modules section.
Click Buy and order the BitNinja module from the hosting panel or the ispmanager client area.
Once you've made the purchase, return to ispmanager and press Install. The system automatically installs BitNinja.
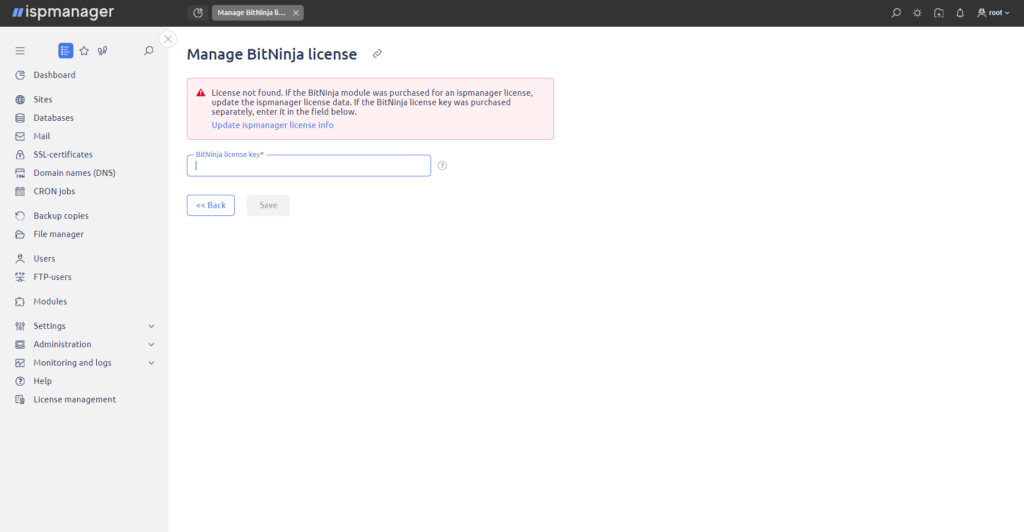
If a license key is required after installation, click the cog icon next to the BitNinja module and enter the key in the provided field.
How to Access BitNinja After Installation
After installation, you can access BitNinja by navigating to the left-hand menu.
Supported OS
CloudLinux 7 64 bit and above
Debian 8 64 bit and above
Ubuntu 16.04 64 bit and above
Red Hat 7 64 bit and above
AlmaLinux 8 64 bit
VzLinux 7 64 bit and above
Rocky Linux 8 64 bit
Amazon Linux 2 64 bit
Key Recommendations for Optimal Performance
To ensure optimal performance and avoid issues, it is strongly recommended to only install BitNinja on servers with at least 4 GB of RAM. Running BitNinja on a server with 2 GB of RAM could cause performance problems for ispmanager and BitNinja.
For more information on using BitNinja with ispmanager, click here.
Proactive server protection from a centralized, easy-to-use console. Secure your web servers and customers’ websites against all kinds of cyber threats with our multi-layered security tool